Tutorial: a to-do app
2. A list of tasks
Show some tasks. This step introduces the three things every list is made of — the data, the view, and the template for one row.
ListModelListViewQQC2.CheckDelegate
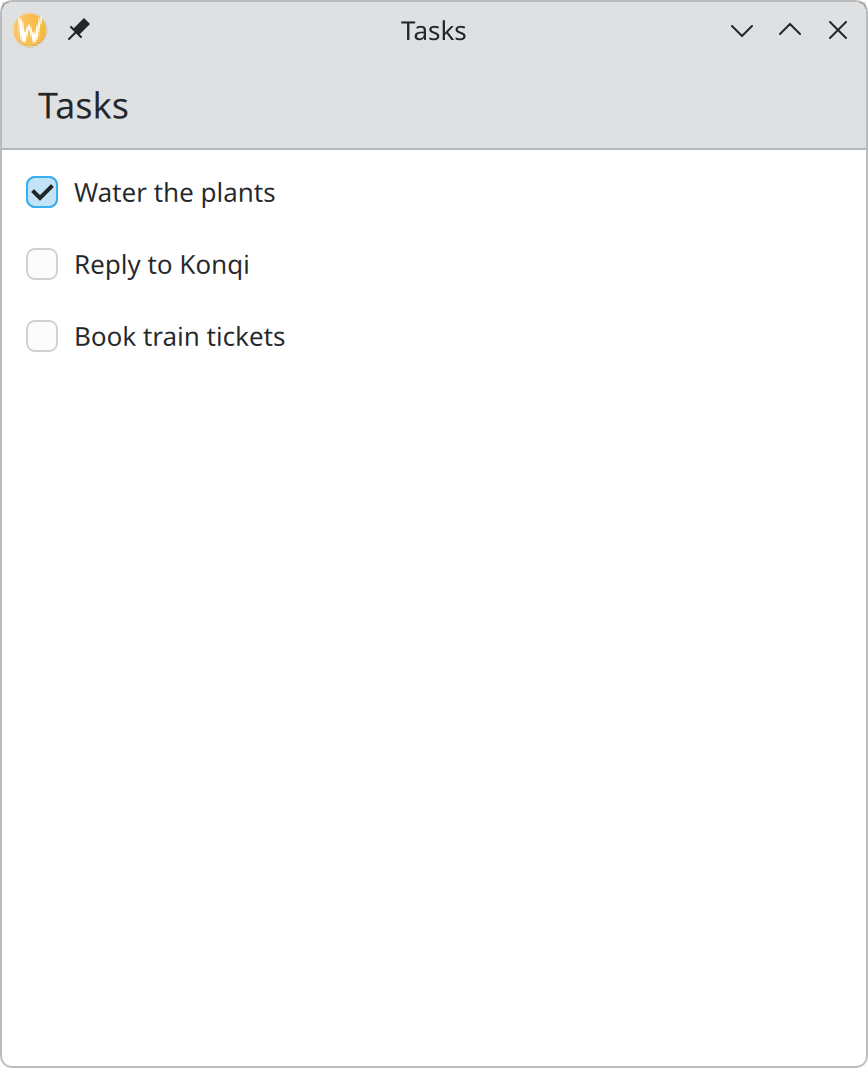
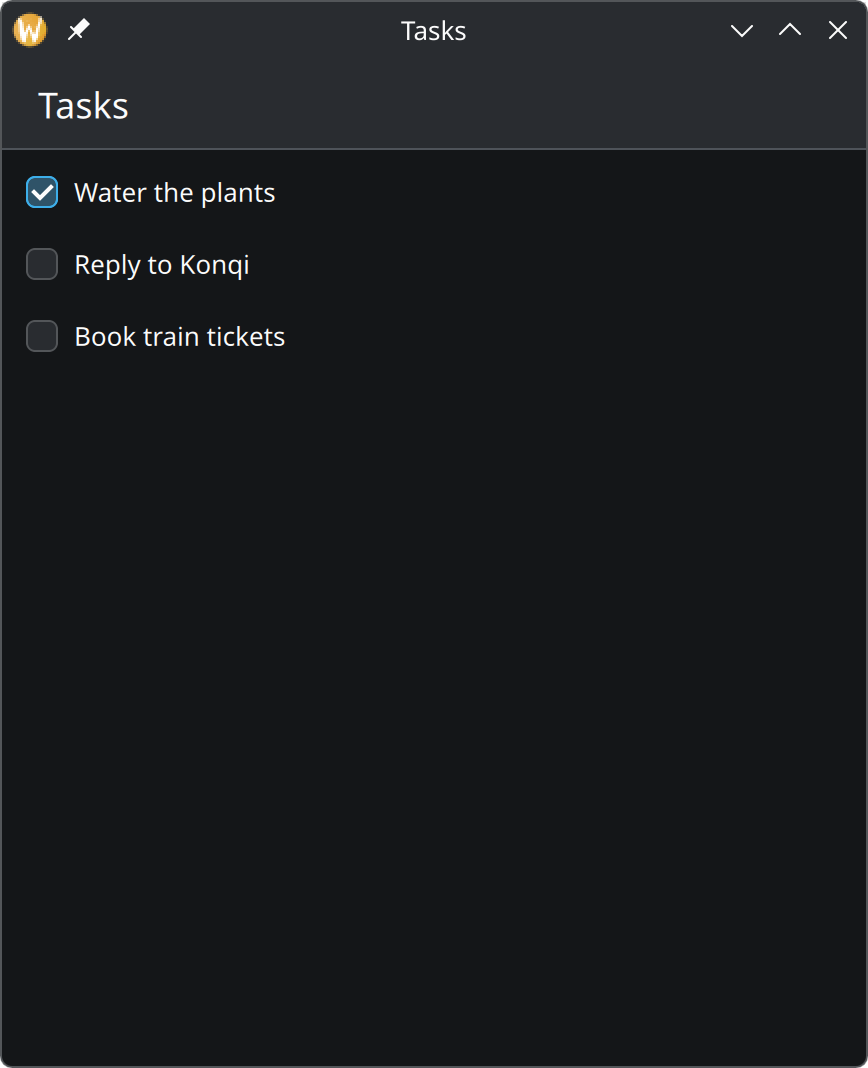
Show the complete main.qml for this step
import QtQuick
import QtQuick.Controls as QQC2
import org.kde.kirigami as Kirigami

Kirigami.ApplicationWindow {
    id: root

    title: "Tasks"
    width: Kirigami.Units.gridUnit * 24
    height: Kirigami.Units.gridUnit * 28

    // The data: one entry per task.
    ListModel {
        id: tasksModel

        ListElement { title: "Water the plants"; done: true }
        ListElement { title: "Reply to Konqi"; done: false }
        ListElement { title: "Book train tickets"; done: false }
    }

    pageStack.initialPage: Kirigami.ScrollablePage {
        title: "Tasks"

        ListView {
            model: tasksModel
            // Rows are ticked, not selected, so none is marked as current.
            currentIndex: -1

            // The template for one row.
            delegate: QQC2.CheckDelegate {
                required property string title
                required property bool done

                width: ListView.view.width
                text: title
                checked: done
            }
        }
    }
}
A list in Qt Quick always has three parts:
| Part | Its job | Here |
|---|---|---|
| Model | Holds the data | ListModel |
| View | Lays out the rows and scrolls | ListView |
| Delegate | The template for one row | QQC2.CheckDelegate |
Add the data
Inside the window, above pageStack.initialPage, add a model with three sample tasks:
ListModel {
    id: tasksModel

    ListElement { title: "Water the plants"; done: true }
    ListElement { title: "Reply to Konqi"; done: false }
    ListElement { title: "Book train tickets"; done: false }
}
Each ListElement is one task with two fields: its title, and whether it is done. The names are our
choice. The samples let us see something straight away; they go away again in the last step.
Show it
Replace the label in the page with a list view:
ListView {
    model: tasksModel
    currentIndex: -1

    delegate: QQC2.CheckDelegate {
        required property string title
        required property bool done

        width: ListView.view.width
        text: title
        checked: done
    }
}
model: tasksModelconnects the view to the data, using theidwe gave the model.delegateis created once for every task.QQC2.CheckDelegateis a ready-made row with a text and a checkbox.- The two
required propertylines are how a row receives its data. For each row, the view looks for fields in the model with these names and fills them in. width: ListView.view.widthmakes each row as wide as the list. Every delegate needs this line.currentIndex: -1says that no row is “the current one”. Lists that are for picking an item highlight the current row; ours is for ticking, so no row should look selected.
The list is the direct child of the scrollable page, which is what makes it fill the page and scroll properly. More on all of this in List items.
Try it
Click a checkbox: it toggles. But that is only the checkbox’s own on-screen state. The model still says what it said before, as you will notice once other parts of the app start reading from it. We fix that in step 4.